6. This will create a path from the selection.
Photoshop® 4.x: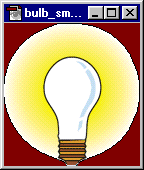 | Photoshop 5.x: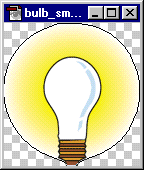 |
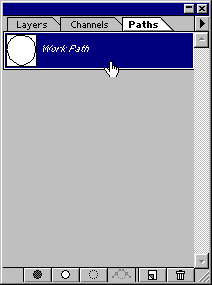
8. Photoshop presents you with a default name of "Path 1" for the new path. Click "OK" to accept the default name.

9. In the Path Options Menu, choose "Clipping Path".
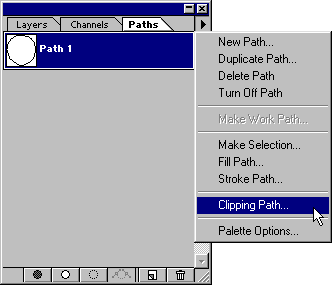
10. In the Clipping Path dialog, click the "Path" pull down arrow to bring up the new path name.

11. Choose "Path 1" and click "OK". This step is necessary because Photoshop allows you to save more than one path with the image, but only one of them is allowed to be a clipping path.

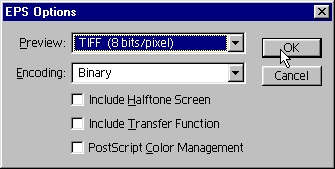
12. Next, click File > Save a Copy and choose Photoshop EPS (*.EPS) from the "Save As" pull down. Enter "bulb_small.eps" and click "Save". When the EPS Options dialog appears, choose an 8 bit preview ("TIFF" for Windows®, "Macintosh®" for Mac®) and "Binary" as the Encoding then click "OK". A preview is required for the EPS image to be viewed on the screen when positioning it in Quark™. Binary encoding ensures a small, compact file that prints faster. This completes the preparation of the bulb image. Close the Photoshop image by clicking File > Close.
The Windows version...
The Mac version...
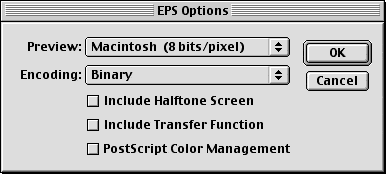
13. Next open the screen shot image. Click File > Open and select "screenshot.gif". If you plan to generate a PDF file, you need to save the image as an EPS file in RGB color mode. Click Image > Mode > RGB Color, then click File > Save a Copy. Choose Photoshop EPS (*.EPS) from the "Save As" pull down and enter "screenshot.eps" and click "Save". When the EPS Options dialog appears, use the same settings as the previous step.


 3:30 PM
 Unknown
0 comments:
Post a Comment